
Warning: Potentially outdated information!
Several readers have advised that Lowell have removed the tension/spring mechanism from their newest line of laminators. This model may no longer be suitable for 1.6MM PCBs!
Special thanks to Clifford Heath, Bob Mutton and Mark Weedon for the heads-up
You may not be completely out of luck, though. Jonathan Hewlett has successfully purchased a couple of display models from OrificeWorks, which still contain the required spring mechanisms.
If the date code of the display unit shows that it's of 2011-vintage, try and socially engineer centre staff into selling it to you!
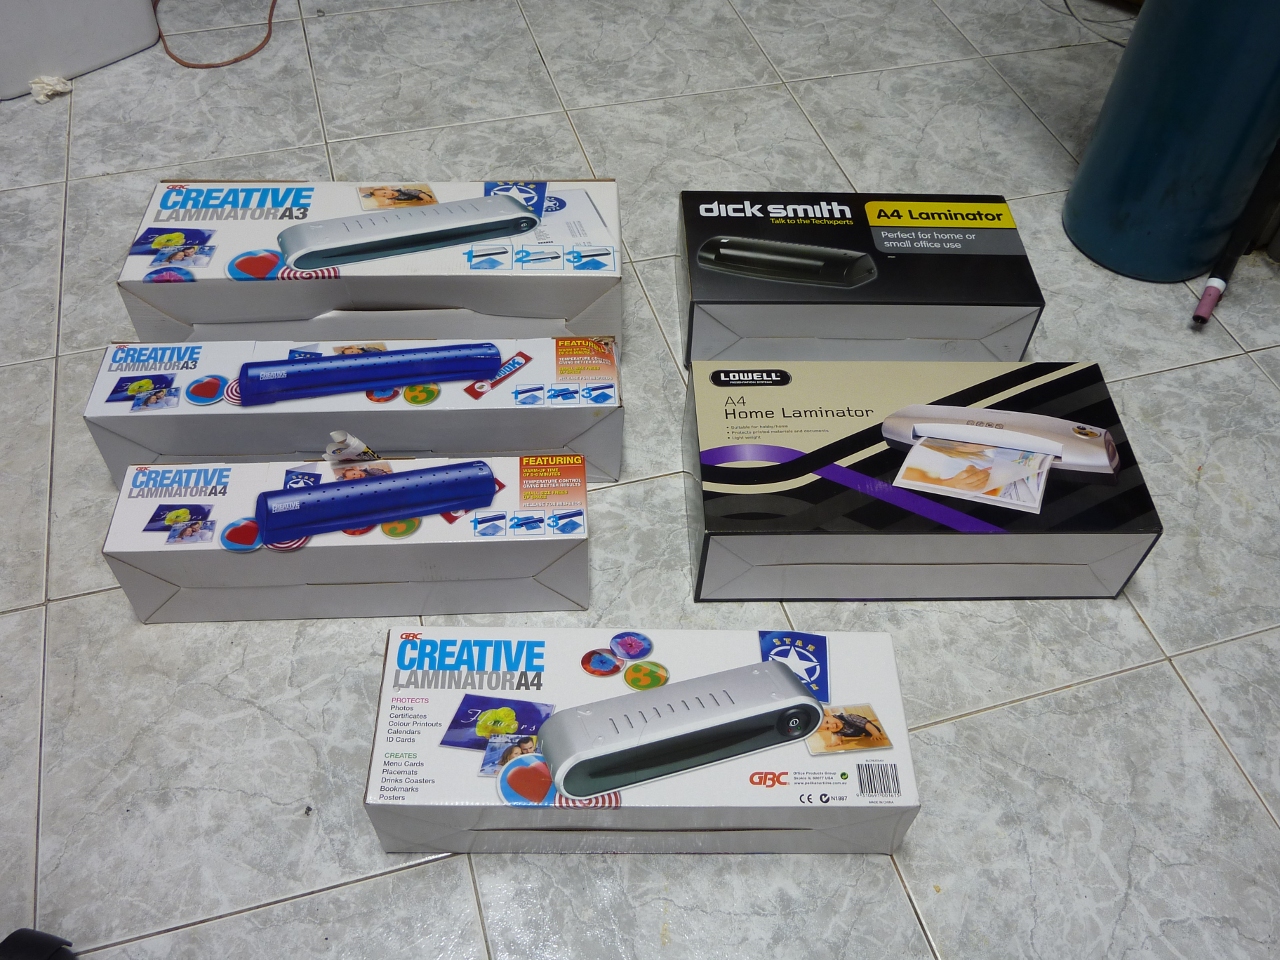
Let's start with a quick shitlist - Do not buy any of the laminators in this photo
At the time of writing ALL current low-end (under $100) GBC Creative laminators on the Australian market do not produce acceptable results; they are all the same machine with different enclosures and slightly revised control circuitry (the photo above is just a guide). They do not work, or work for a short time before imploding.
Again, we have tested all current models and variants of GBC Creative laminator as of October 1st 2011, they do not work reliably. We purchased them so you don't have to, please do not waste your time or money!
Oh dear. It appears as though our previous PCB SuperFuser article has become a little dated; apologies for the delay in posting an update. We've spent the past few months gathering many different laminator models for trial, our results follow.
For those of you who haven't read the previous write-up; we've been modifying off-the-shelf laminators to run at far higher temperatures (about ~170C), so that they become usable with PCB Toner-Transfer. The high temperature, relatively slow travel speed and extremely high roller pressure make certain laminators ideal for high-resolution transfers. What follows is our latest (and cheapest!) pick.
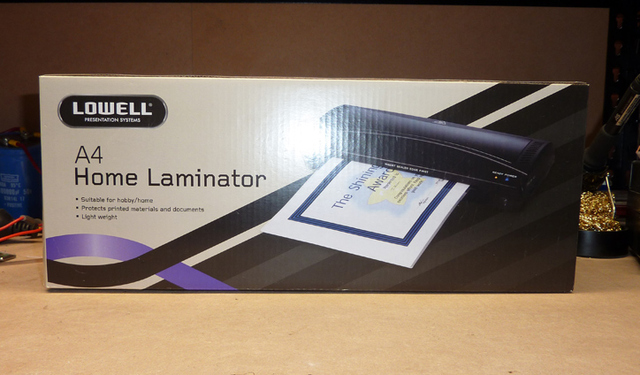
Today we'll be hacking the laminator above, currently available through OrificeWorks for just under twenty bucks. If it doesn't look exactly like the aforementioned image, there's a chance the guide below won't work for you.
This particular unit is ideal due to a spring-loaded upper roller and high temperature plastic; this combination allows you to use 1.6MM board without the fear of damaging the chassis and/or roller assembly (I also accidentally left it on for a few hours with no damage!)
Before we begin, ensure you've powered up the laminator FOR AT LEAST AN HOUR after purchasing. This is to wear the components in and to ensure there are no pre-existing faults. You'll also need the following parts to perform this modification (assuming the standard arsenal of tech tools)
*** Warning: Elephant14's part# 1688155 is 160°F (60°C, not 160°C); Don't buy it, it'll cause your day to become painful and unsatisfying. Thanks to Peter M. of PowerForm Controls for the tip!
Also note the following precautions/disclaimers:
... Let us begin!
The 'ready' LED is now tied directly to the heating element (via some resistor/Diode hackery on the small LED PCB); While the unit is actively heating, the 'ready' LED will switch off
Note that this may also happen while the unit is idling with no load. A good idea would be to allow at least 20 minutes for warm-up, then ensuring you only attempt a toner-transfer while the LED is lit (this will ensure we're always above 165C)
We could easily modify this behaviour, but I feel it's better this way, as we'll always know when the unit is up to temperature.
That about covers it for the modifications! With mechanical thermal control, the temperature swings between 165C and 195C; 150C+ is generally enough to perform a perfect transfer in one pass with a 0.8MM PCB.
Let's try a quick test - Note that the first image is just a "test fit" of an 8x10" 1.6MM board; we're not actually doing anything at that point, just checking to see if the rollers jam with a massive payload.
The results above speak for themselves; this is by far the cheapest (and best performing) unit we've come across, pretty much ever. Over a grand's worth of laminators were purchased this year, and we were thwarted by a $20 beastie! It even does 1.6MM.
Some notes regarding 1.6MM boards: You will require two passes through the laminator for the board to get up to temperature, as opposed to the one pass required for 0.8mm board. We also recommend leaving the upper half enclosure off when dealing with thicker boards, as the entry and exit slots are quite narrow (either that, or you can widen the slots with a stanley knife)
When operating the unit without the upper enclosure DO NOT place the unit near a window or a source of moving air, it will go into meltdown!
I'm going to have to say that again: DO NOT RUN THIS UNIT NEAR A SOURCE OF MOVING AIR; It'll run too hot and go into meltdown.
Hope this helps someone, thanks for checking in, and all the best with your future engineering ventures
-PodeCoet
Feel free to get in-touch!
 Modulated Arc Lighter


