
Today we'll be looking at ChipQuik Inc's low-temperature rework alloy (known simply as "ChipQuik"), a god-send for SMD removal/repair both on and off the field!

ChipQuik is essentially an alloy containing Bismuth as its main constituent, which in-itself has an inherently low melting point. Once the alloy is heated and combined with standard Tin/Lead or Lead-Free solder, the overall melting point drops dramatically to just under 60oC (as opposed to the typical 180~200oC for tin-lead)
This in-turn means the solder will remain molten (or at least, malleable) for a longer period of time, allowing you to perform extensive repairs to both through-hole and SMD boards without the need for specialised equipment. It also minimises the possibility of damaging the PCB substrate, solder mask, pads or surrounding components due to heat-related stress
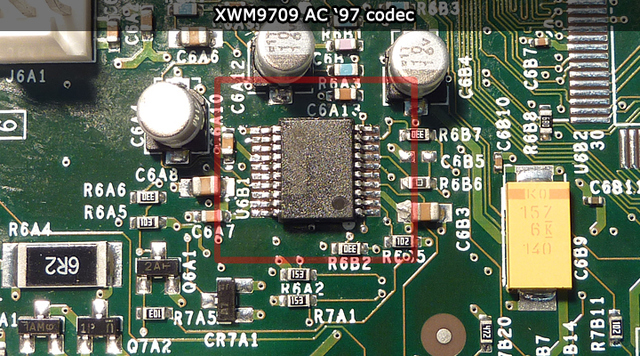
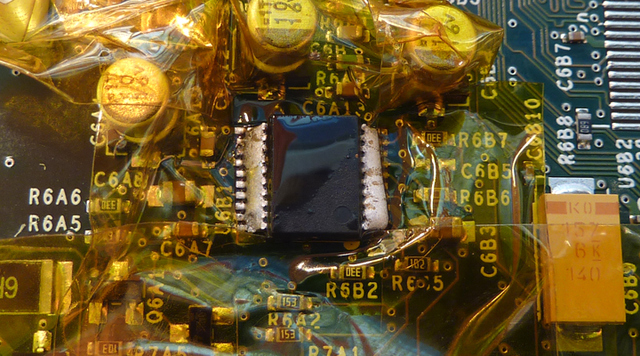
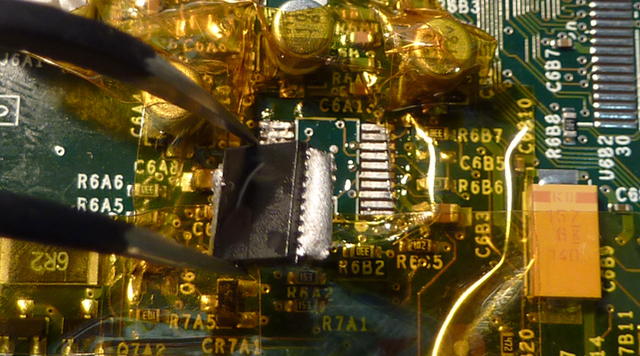
For the sake of simplicity, we'll be removing a small 20-pin SSOP package (an AC'97 codec) from an old XBOX mainboard. The same process can easily be used on larger components with a higher pin density (ie: TQFP144) after you've had some practice.
Here is our target:
We'll be using the following tools and consumables:
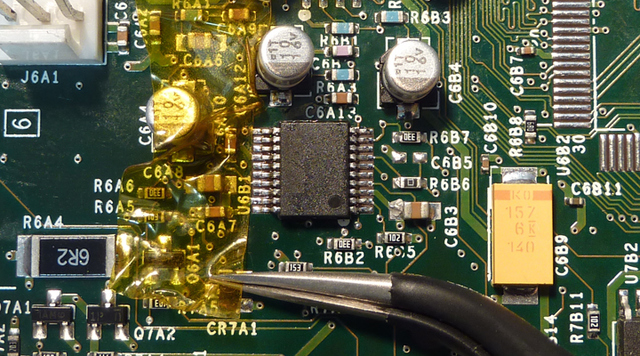
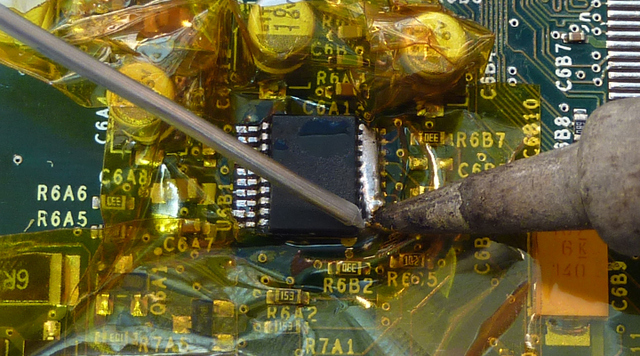
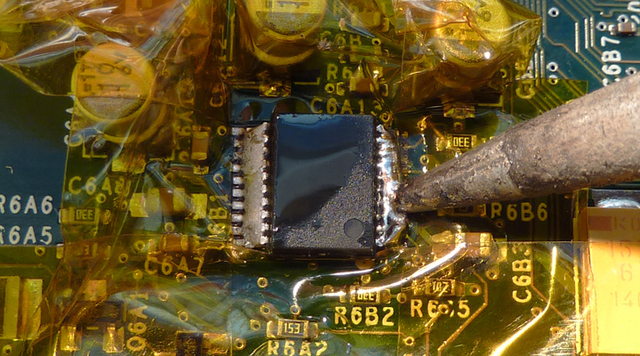
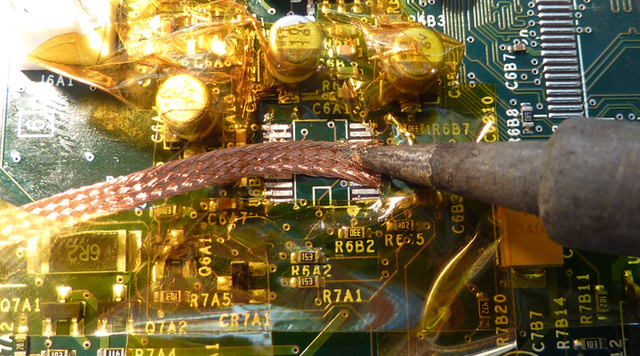
We're now ready to begin! Due to the extremely low melting point of the alloy, it may be a good idea to turn down your 'irons heat setting (thank to Grant of UltraLogic For the tip!)

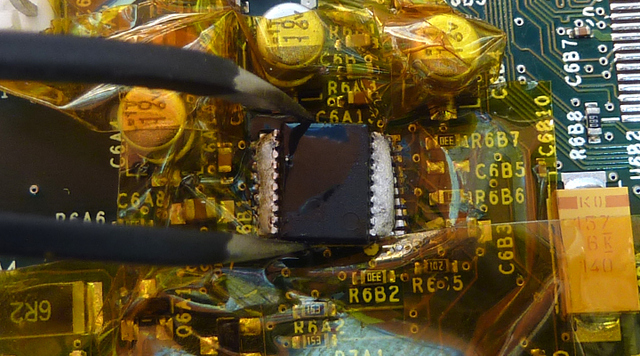
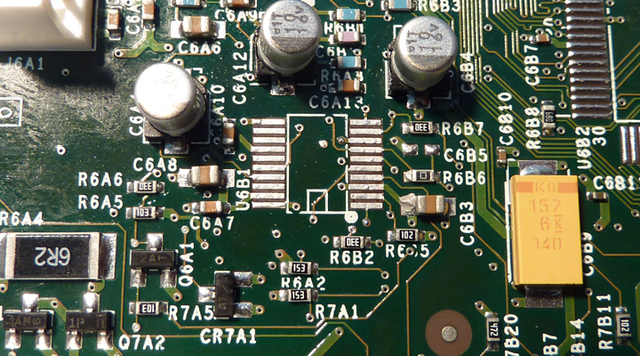
Easy as that! You can obtain ChipQuik alloys, tape and fluxes through the following Aussie retailers:
Doug Ford Analog Design
Mektronics
Jaycar Electronics
Diverse Technologies
-PodeCoet
Click here to get in-touch
 Modulated Arc Lighter