
Here's a quick Mio battery hack, done out of absolute necessity during my stay in Southport, QLD. It is STUPID AND DANGEROUS. If you somehow manage to rupture the battery casing, you'll probably be greeted (and subsequently violated) by Satan's fiery staff.
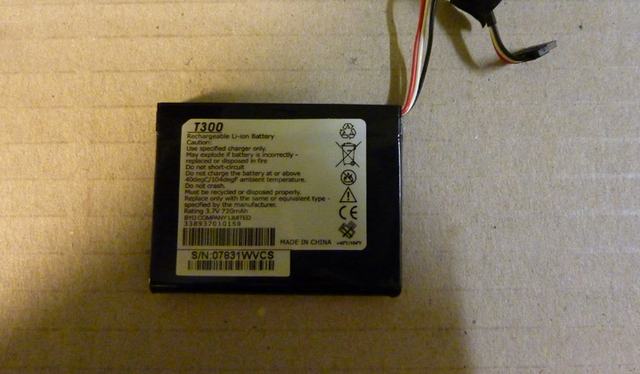
My Mio Moov 370 piece of shit navigator gradually developed battery capacity issues during the first year of ownership; Within a few minutes of running on it's internal battery, the unit complains of 'low power' or decides to shut down abruptly. The fault isn't that much of an inconvenience and is seldom noticeable during normal use, while plugged into it's powered winshield dock
Unfortunately, once the battery voltage falls below a preset threshold, UVLO kicks in, and the unit behaves as though a battery isn't installed at all. This has the highly unpleasant side-effect of forcing the GPS to perform a cold-start on every power-up (60-90 seconds to get a GPS lock, as opposed to warm/hot-start, which is only a few seconds). It also appears to cause general instability in the underlying operating system (I'm running MioPocket under Windows CE)
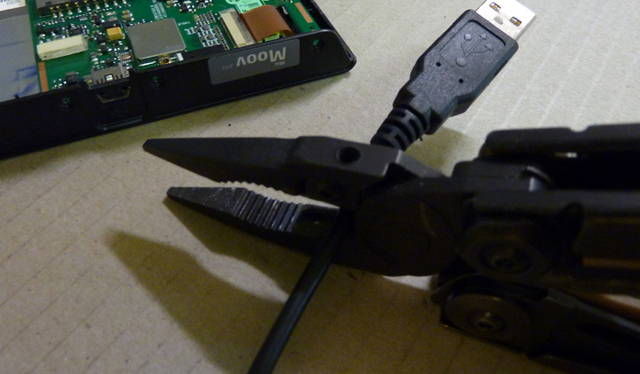
The navigator became unusable without a backup battery (it'd reboot everytime you'd hit a bump on the road) - I'm in an unfamiliar state, and needed it running the following morning for work. So I improvised a repair using a spare digital camera battery
You will need:
We'll start with the replacement battery first -
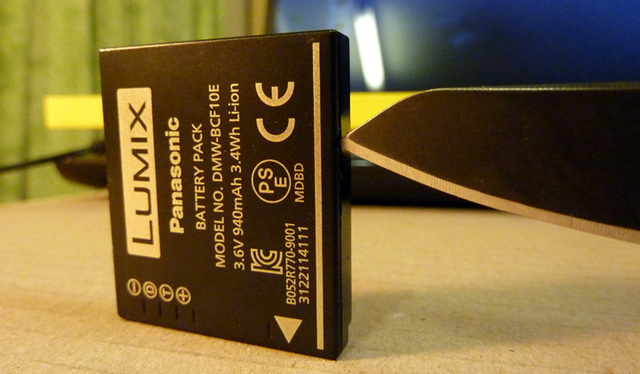
GENTLY score along the seams of the battery using a sharp knife. The casing is ultrasonically welded, so it can't simply be pried apart. Remember, If you go too deep, you'll know about it... WITH FIRE!
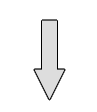
Once you've worked your way around the seams a few times, the casing will begin to come apart - a little encouragement wouldn't hurt either
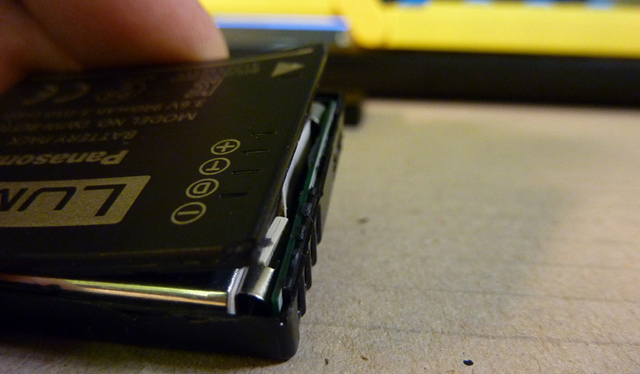
The innards removed, exposing several key components
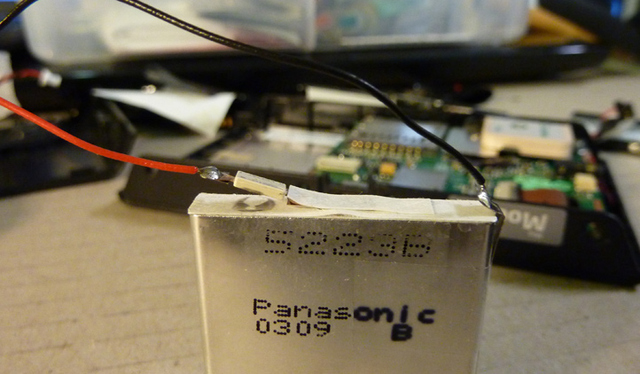
Lithium Ion battery packs generally have three exposed pins; Positive, Negative and Data - The data pin is either internally attached to a thermistor (for simple temperature measurement), or more commonly, a low-power microcontroller running 'fuel gauge' firmware.
Panasonic have gone a step further in implementing proprietary hardware/firmware, which prevents you from using after-market batteries with their newer line of cameras
We have no use for the proprietary panasonic board, so we'll just pry it off.
Note that the battery tabs are spot-welded onto the PCB terminals, so you'll need to gently pry them off if side-cutters aren't available
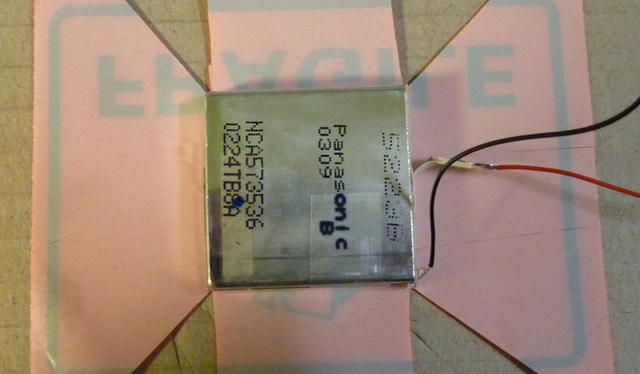
The battery, now seperated from the oppressive PCB
We now have a "raw" Lithium-Ion cell to play with. Next, we'll be removing the 'compatible' PCB from our original Mio battery pack, and installing it onto our new Panasonic cell -
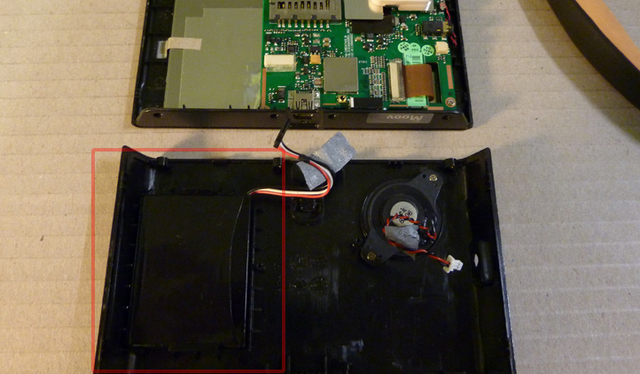
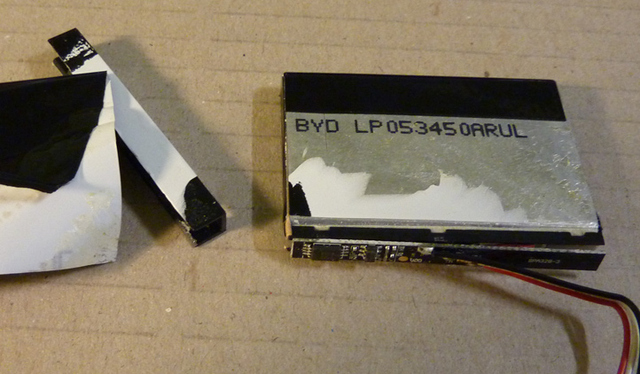
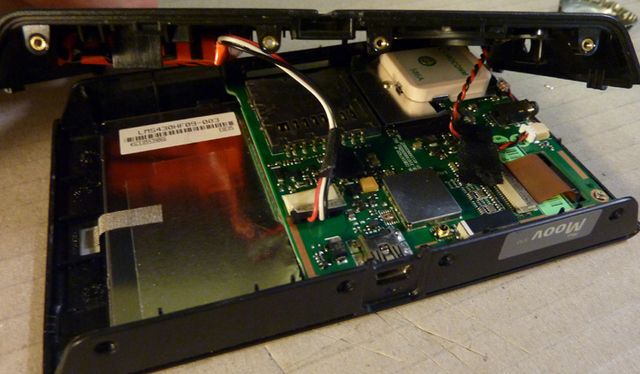
Mio Moov 370 dismantled, and battery pack located
The battery pack removed - note the white "data" wire as mentioned previously
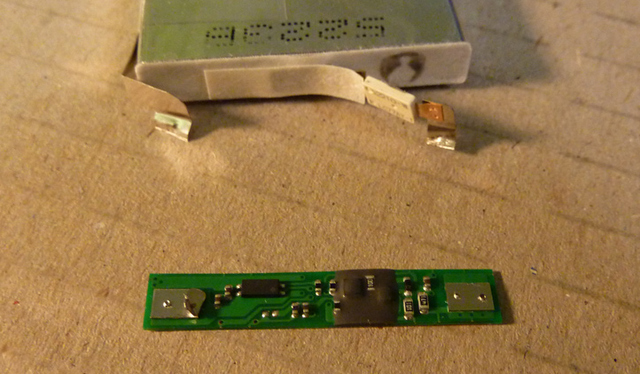
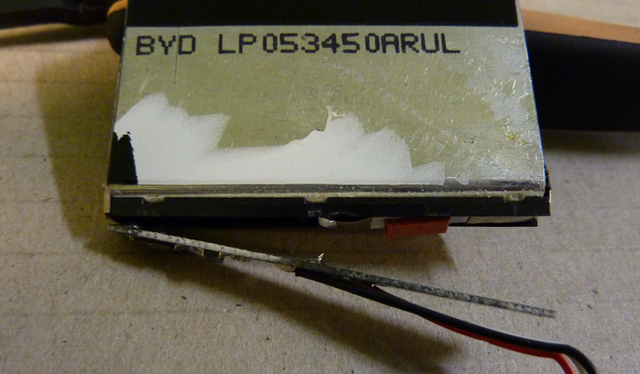
Heatshrink and tape removed, exposing the underlying components
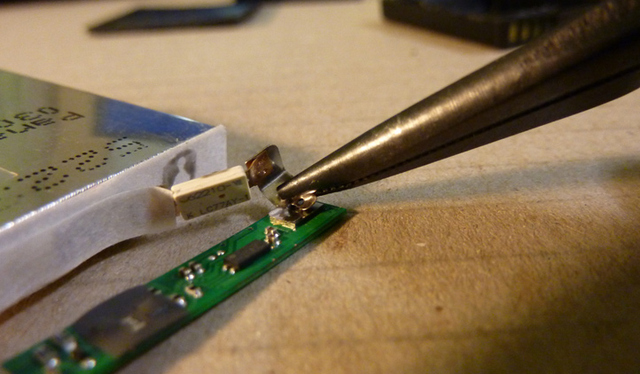
Desolder the terminals (they're attached to the rear of the PCB)
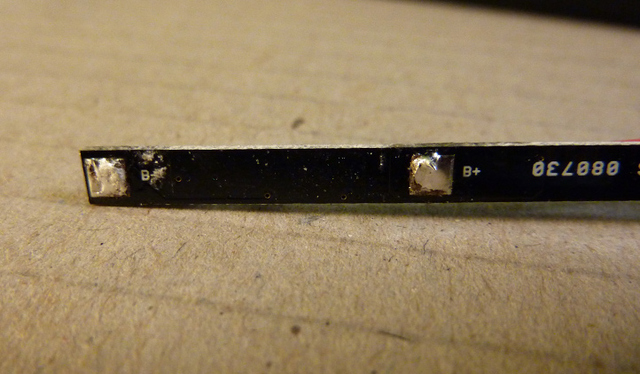
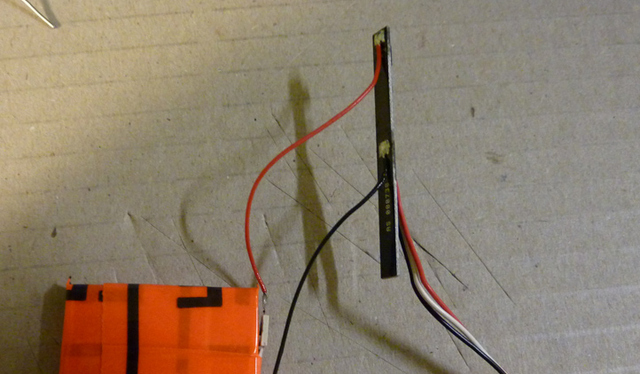
Our PCB, now liberated from the dead cell (note the polarity markings!)
...It's just not the same as my usual messy workbench :(
Harvest some wire from the weak
Solder two wires to the outputs of your new cell
Insulate the cell using some form of tape (or fragile stickers!)
Solder the cell's wires to the back of the PCB
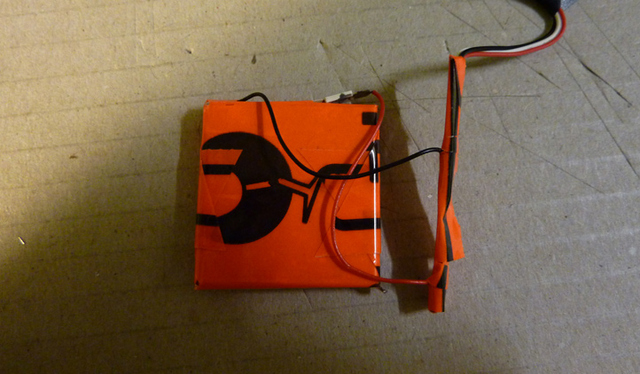
Insulate the PCB
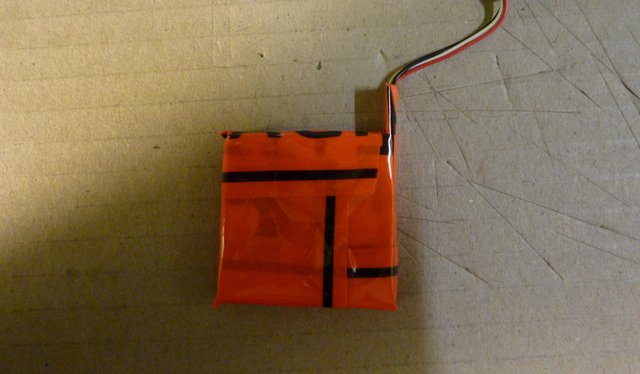
Our fully insulated PCB and Cell
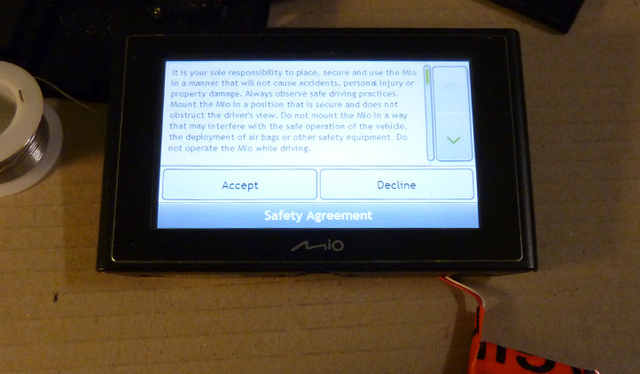
Powering up and accepting the T&C
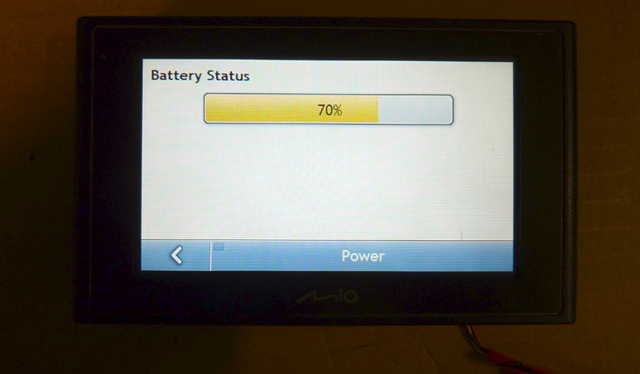
Our battery fuel gauge works!
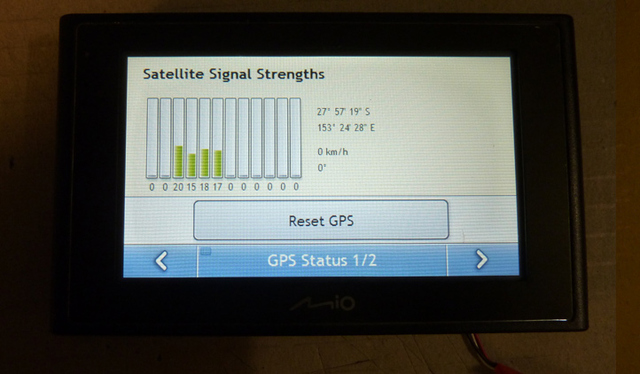
The GPS signal has locked indoors, great sign
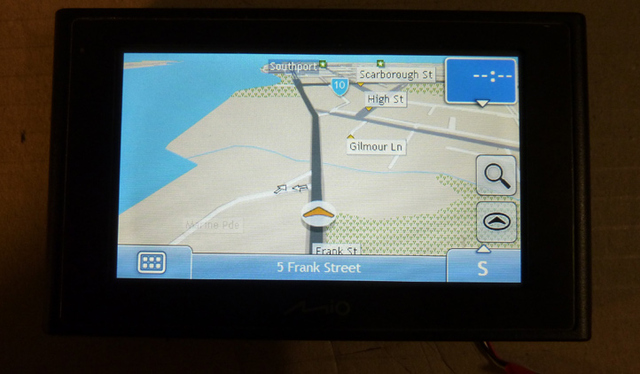
Mapping system is up and running, brilliant!

* Re-assemble *
NB: This might not be a feasible solution for everyone, considering replacement batteries go pretty cheap on EBay - However, it'll probably get you out of trouble if you're unable to wait for delivery
-PodeCoet
Click here to get in-touch or check out my other write-ups
 Modulated Arc Lighter