
Today we'll be using our hacked laminator to create uber-detailed PCBs using the toner-transfer method. This article is specifically catered for use with PulsarProFX products, although you can, however, substitute said products for pretty much any other off-the-shelf toner transfer media such as Press'n'Peel (with the associated loss in quality!)
As always, before we begin, there are a few disclaimers we need to get out of the way (very VERY important information!)
Information & pre-requisites
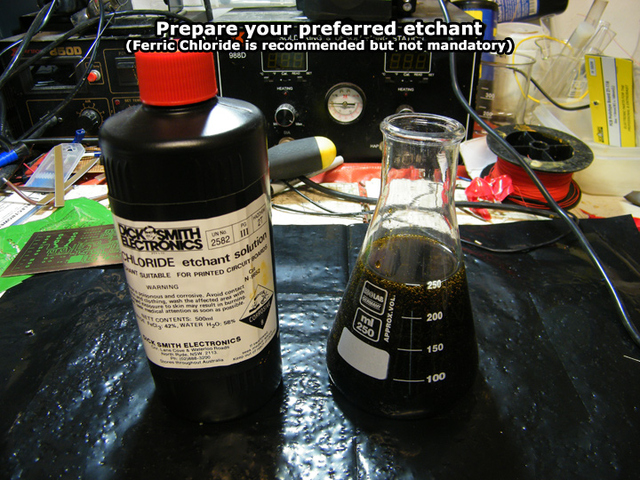
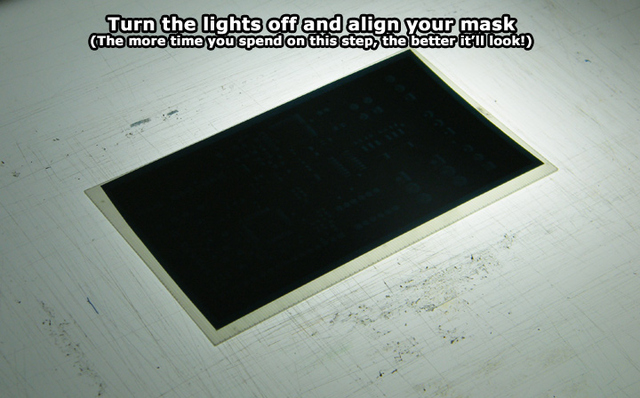
As I mentioned prior to the disclaimer above, this article focuses on the toner transfer method of etch-resisting circuitboards. That is to say, we transfer toner (which is laser printer "ink"), onto a blank PCB in the form of artwork, and that acts as protection against the etching chemicals (otherwise known as etchants). This works due to toner containing a high percentage of pulverised plastic, which we know is resistant to most corrosive and oxidising agents (the two key types of etchant)
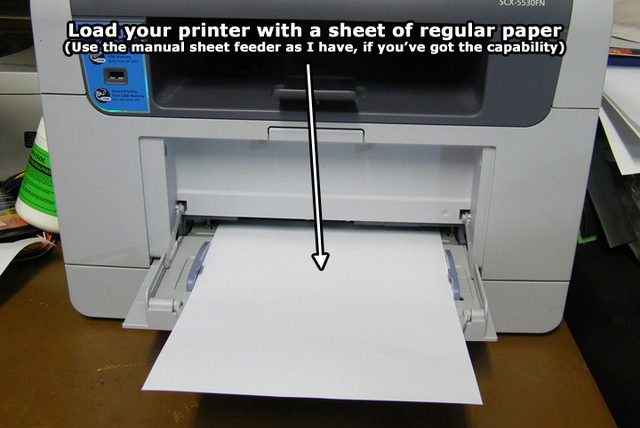
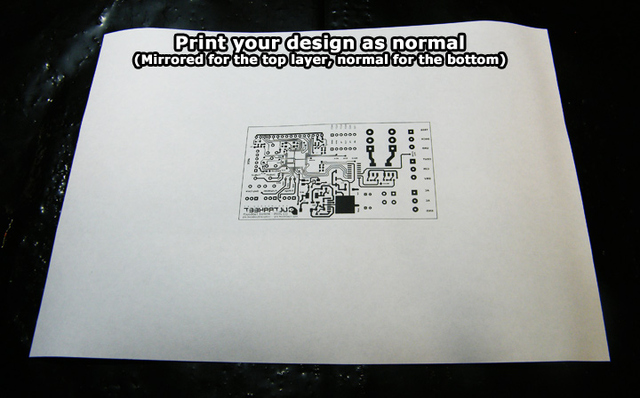
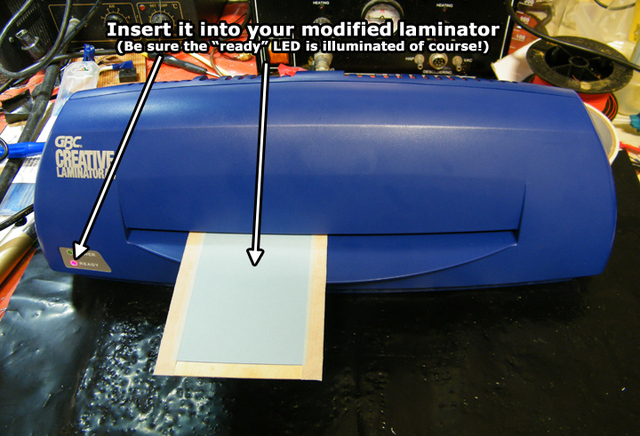
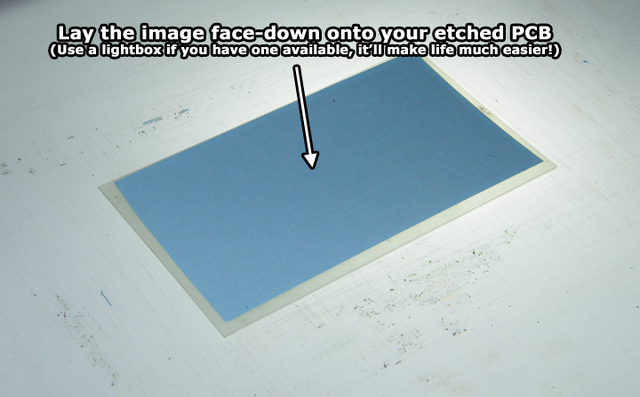
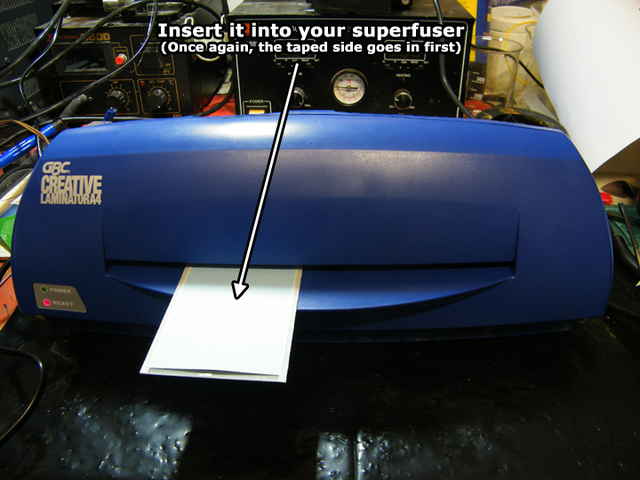
Laser printers essentially "paint" a sheet of paper with toner, which in its native state appears as a fine black dust. It then passes through a fuser unit, which melts the plastic content of the toner, permanently fusing it to the page. We'll essentially be performing the same task in reverse, using special toner transfer paper, designed in a way that allows the fused toner to be released from the page after printing.
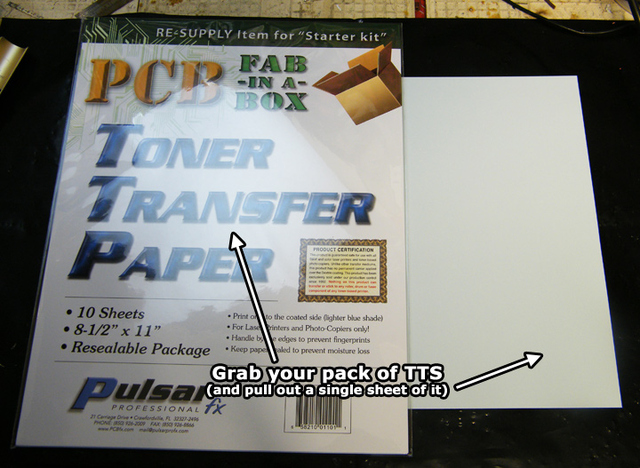
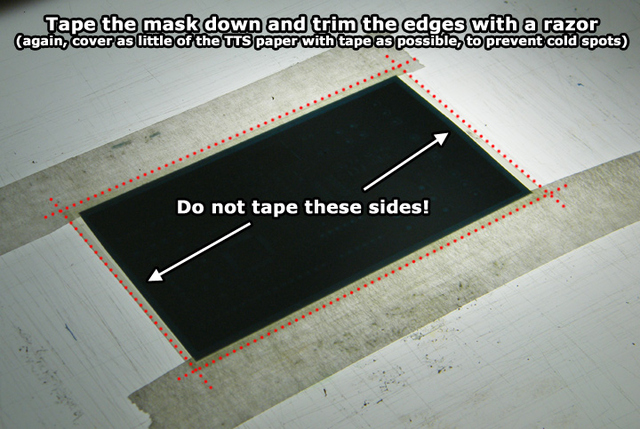
You'll need the following items to get started producing HIGH QUALITY PCBs (note that substituting anything in bold text below will yield poorer quality results):
On with the article!
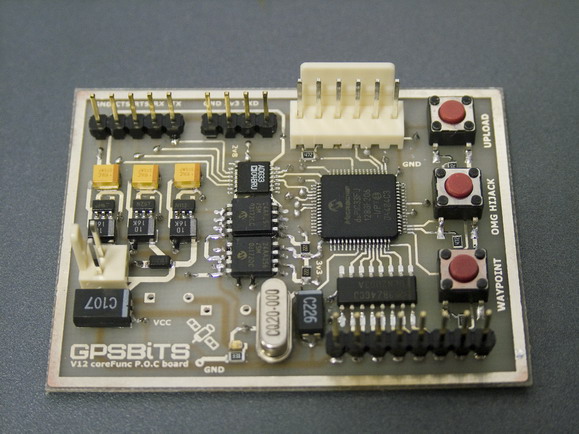
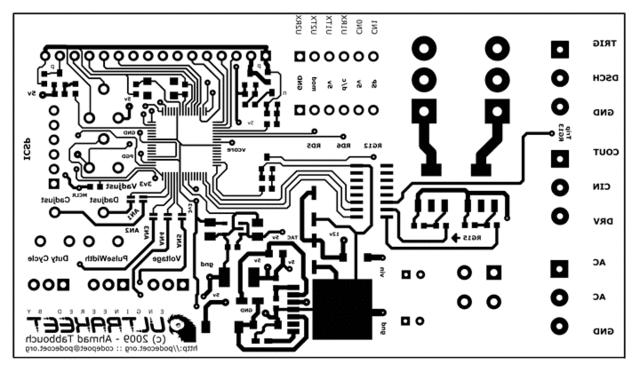
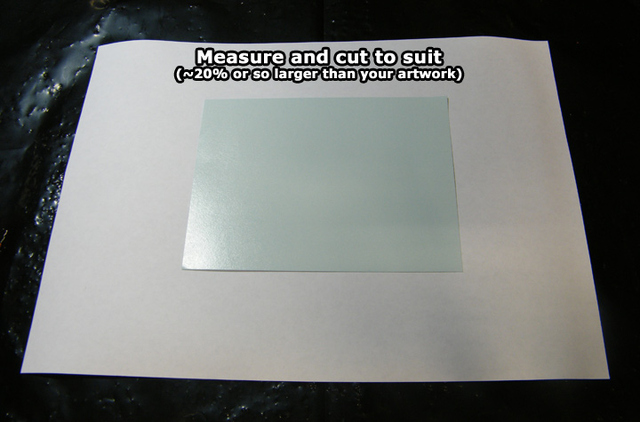
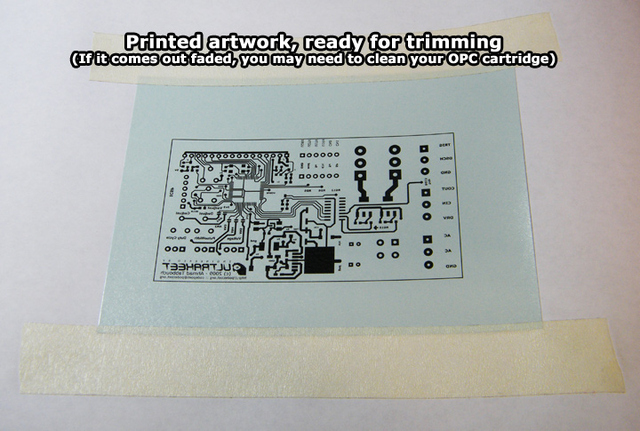
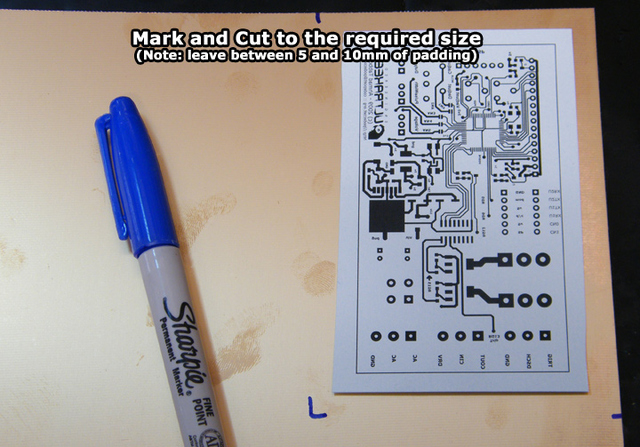
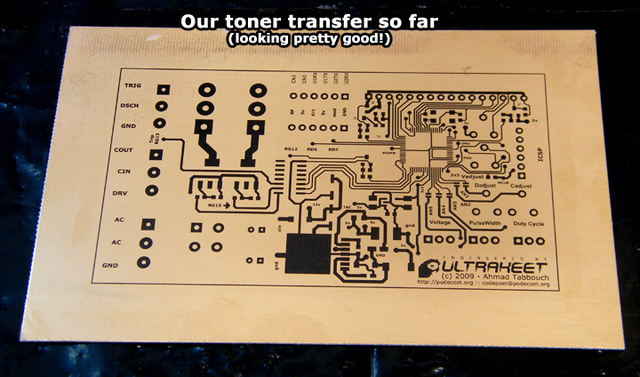
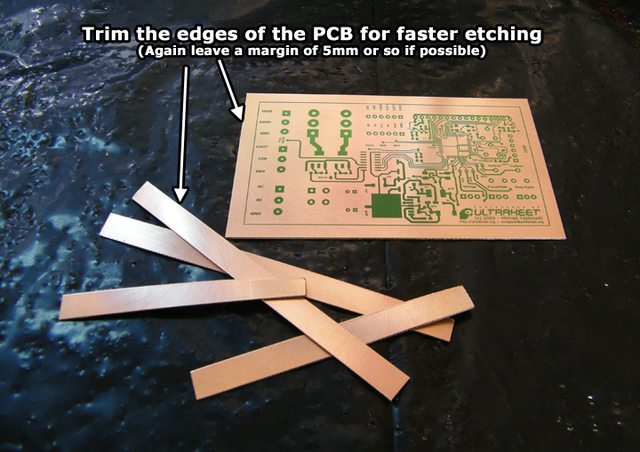
I'll be using the top layer of my Capacitive Discharge spot-welder project as an example throughout this page. I found it's a good balance between detail and complexity for this article --


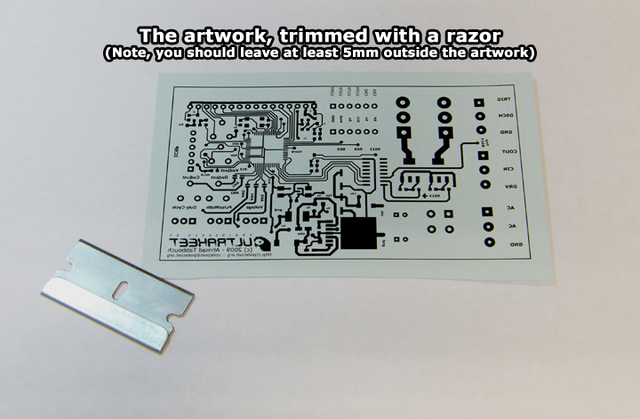
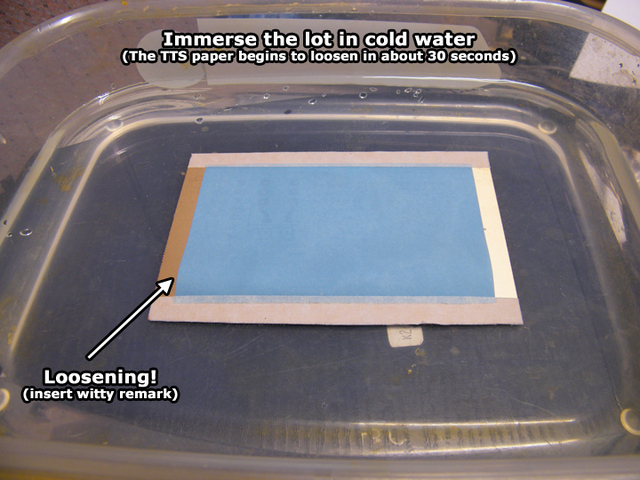
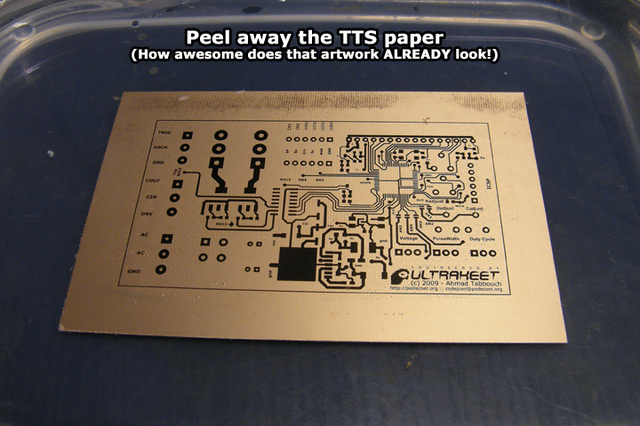

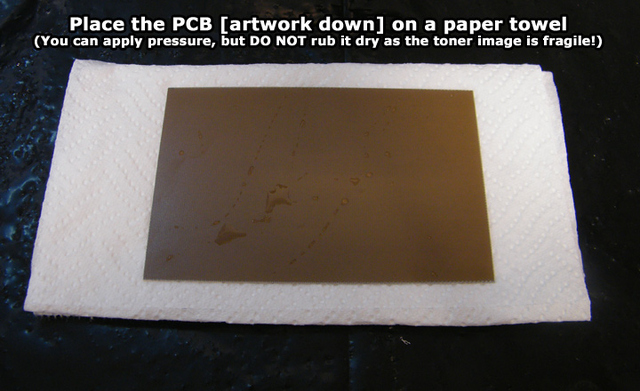
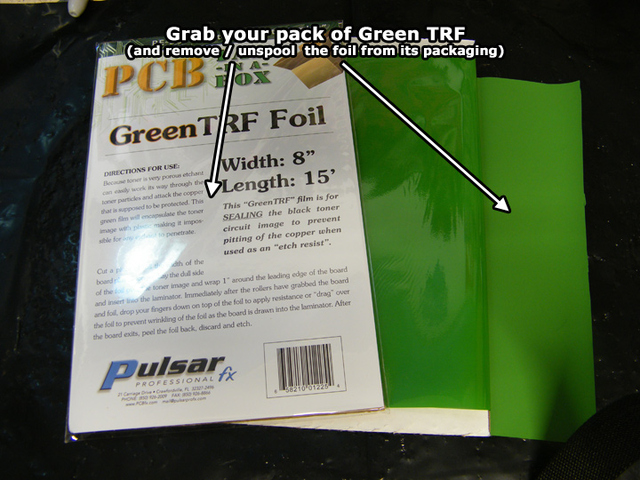
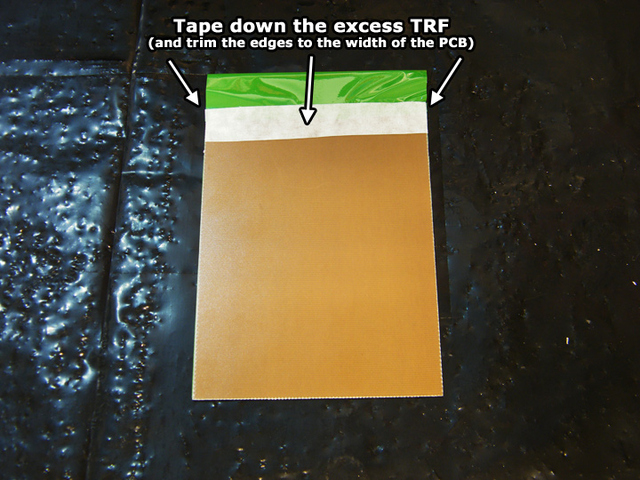
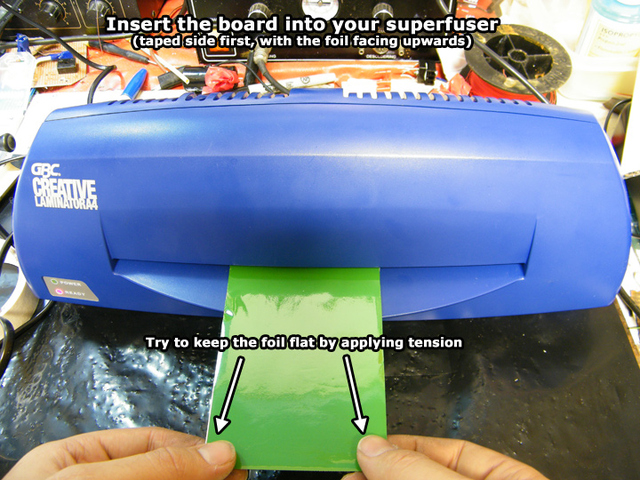
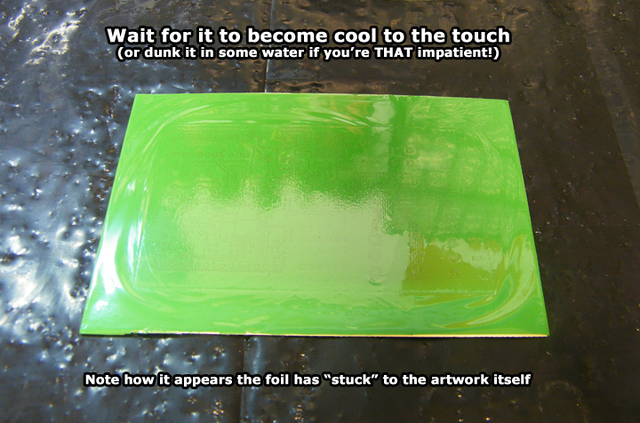
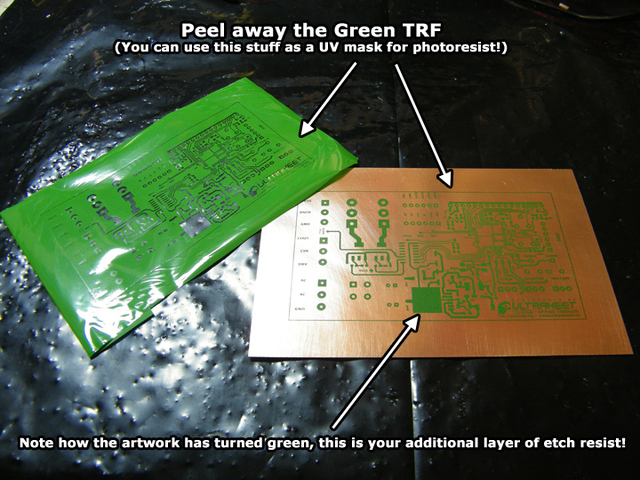
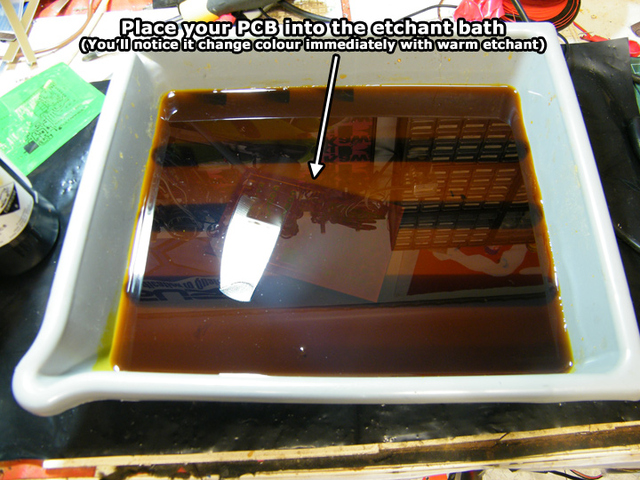
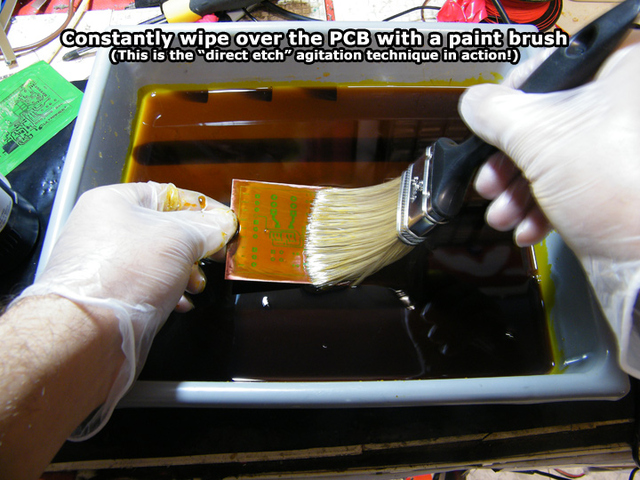
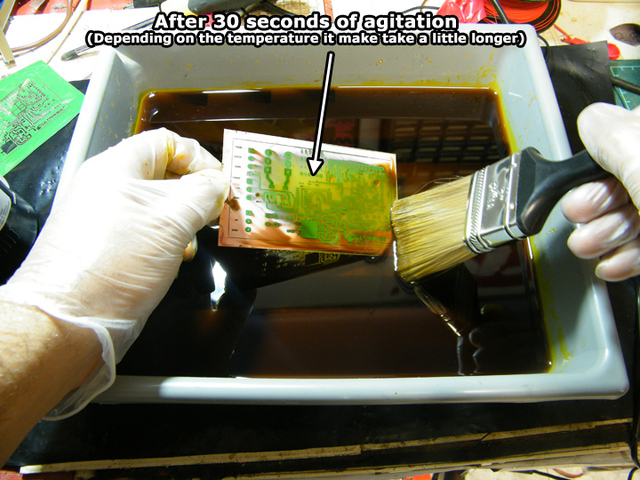
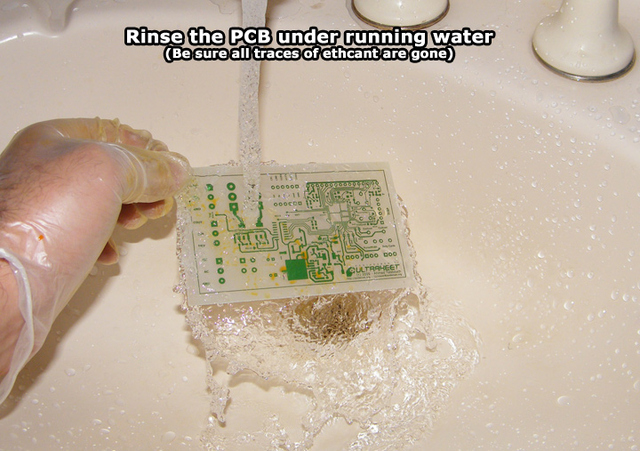
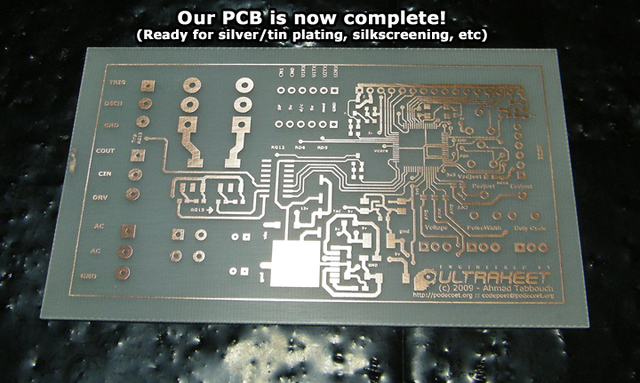
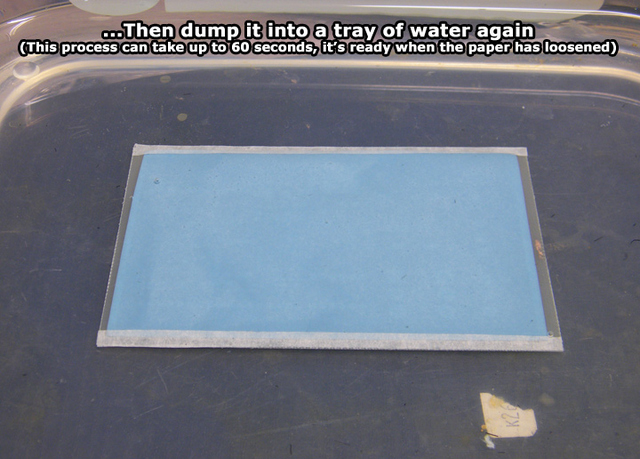
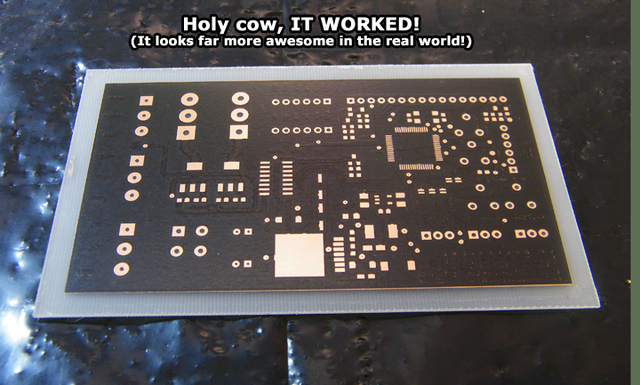
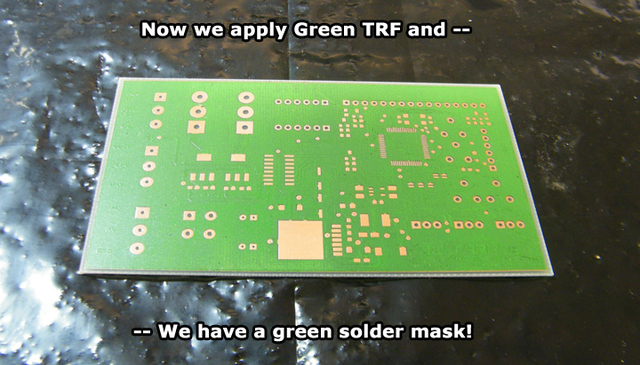
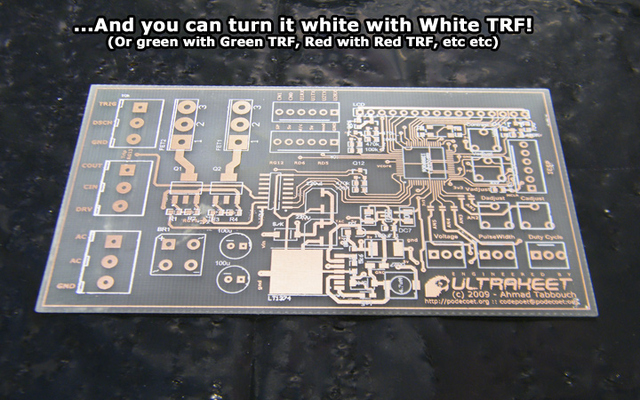
The first part of our toner transfer adventures is now complete! You may try and etch the board in its current state, however toner (in its very nature) is pourous and quite fragile. Etching at this point may result in pitted / non-contiguous tracks - Luckily for us there's something called toner reactive foil ("Green TRF") that's here to rescue us!
Essentially it's a special pigment-based foil that only sticks to the toner image. This in turn adds a second layer of "etch resist" to your board, allowing you to be as rough as you want during the etching process. Note that if you're using Press'n'Peel in place of the aforementioned products, the "blue" pigment is essentially the same as TRF and this step is not required. They both work in very similar ways, however keeping the foil separate from the "transfer paper" yields far more detailed results
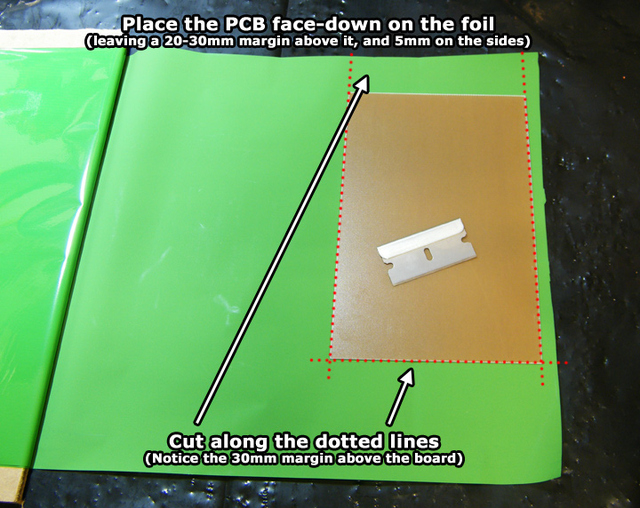
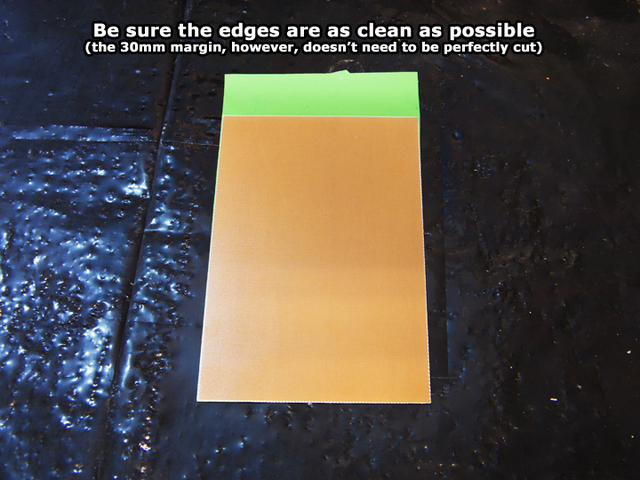
On with the TRF application!

Going further
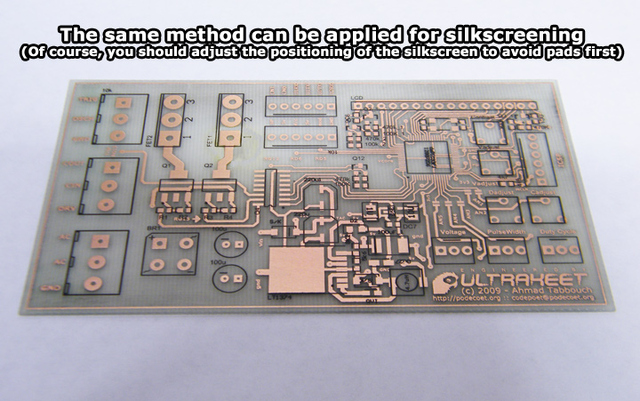
You can stop here if you're not feeling too adventurous. The same products can be used to make the board even cooler looking. Please note that the following is NOT a normal use of TTS/TRF, and you shouldn't buy the stuff purely for the purpose illustrated below (except for the silkscreening, we know that works 100%!)
Once again, the following info about creating a SOLDER MASK is purely EXPERIMENTAL and probably shouldn't be relied upon. The same process can be used for silkscreening however, as that works flawlessly.
On with the show!
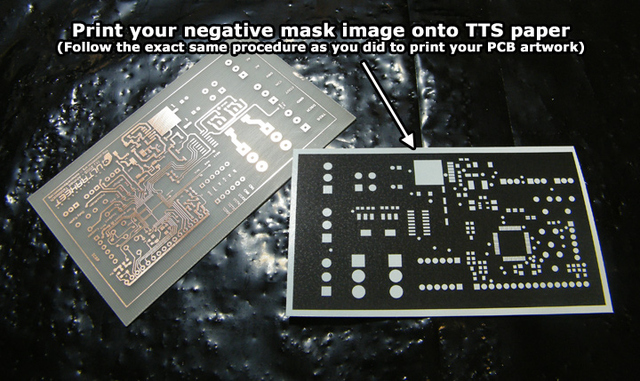
All i've done here is gone through and created a NEGATIVE printout of the SOLDER MASK layer in Altium Designer 6 (substitute with your favourite PCB Layout software). It's a little tricky to print a negative at first, but all you really do is adjust the board colour to black (which forms the background), and the soldermask / layer colours to white (which forms the "voids" in the mask itself).
At worst, you can just add a copper fill in your layout, and place it behind the layers you want to mask out, which gives the illusion of a negative image. So let us begin!
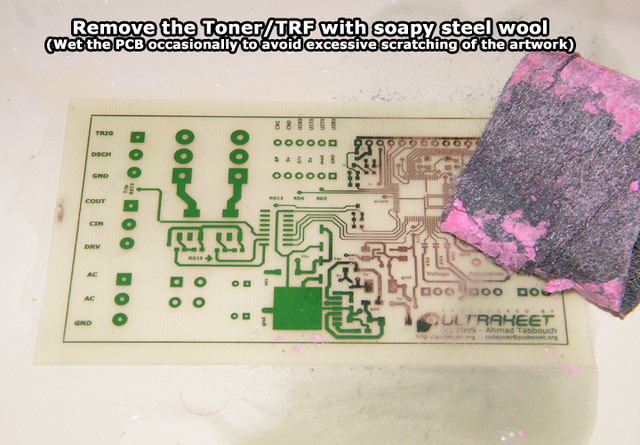
How is THAT for a homebrew PCB! As I mentioned earlier, the same method can be applied to create a silkscreen (in fact, you can apply it above the mask too!) - If you don't like the mask, you can simply strip it away with Acetone, Caustic Soda, or my favourite: Soapy steel wool. The important thing to note is, you can also apply a second layer of Green TRF if you get pitting due to dust / etc.
Done! (For real this time) - I hope you've found this tutorial useful.
-PodeCoet
Click here to get in-touch
 Modulated Arc Lighter