
Yay, another write-up!
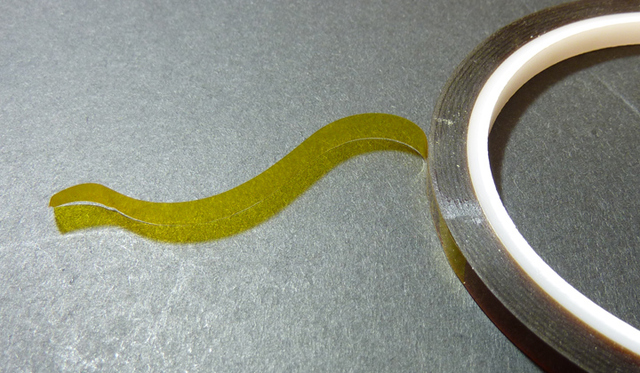
Today we'll be looking at Kapton Polyimide Tape, originally produced by DuPont and knocked off shortly afterward. It's essentially a "masking" tape (typically used in electronics) that's able to withstand temperatures between 250-400C depending on the manufacturer and composition.
As techs, we've all seen its sexy translucent glow in most household / industrial devices, though to my surprise, alot of us (including senior techs at work) have never known it by name nor used it on a regular basis. Hopefully that'll change, as it's an extremely useful addition to ones toolbox.
Original pin-modding credit goes out to the LEGENDARY Jeri Ellsworth, quite possibly the greatest female geek in existence. WHY WON'T YOU LOVE ME!?
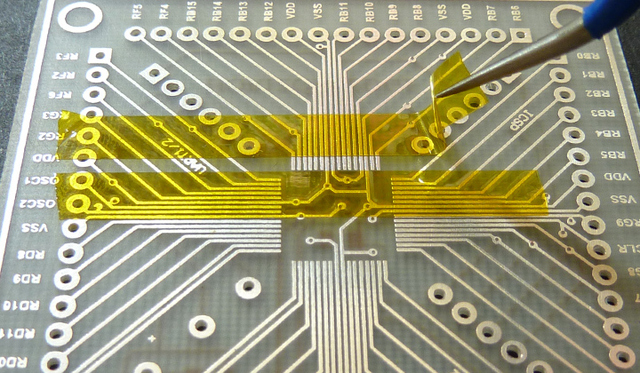
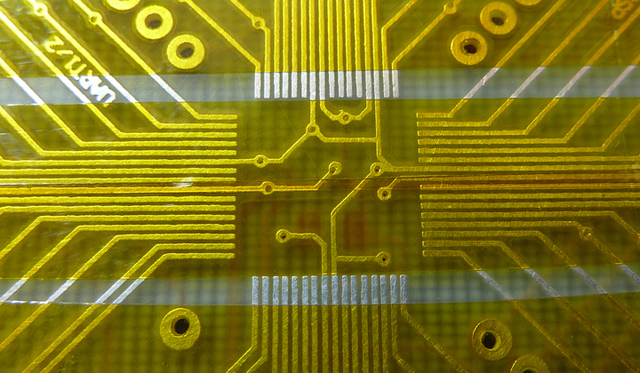
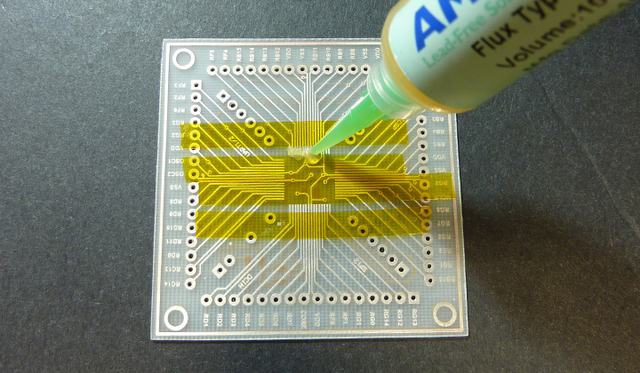
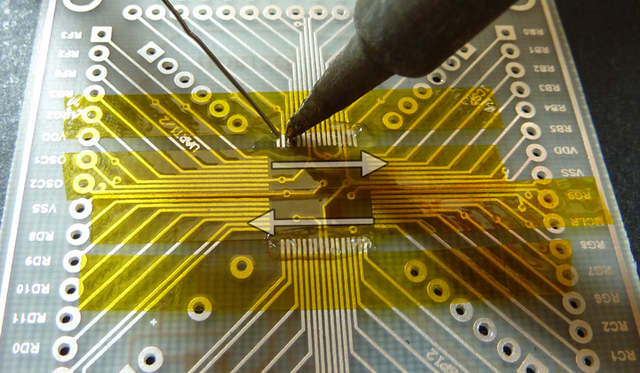
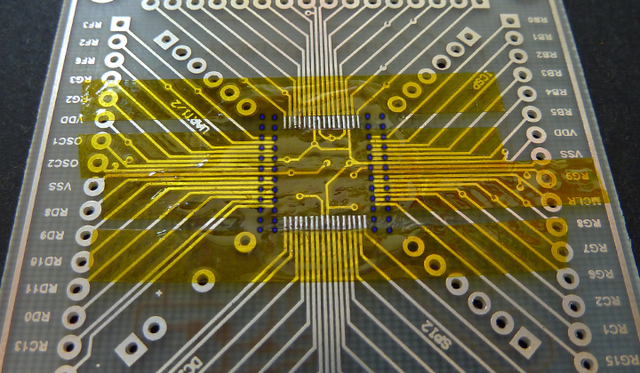
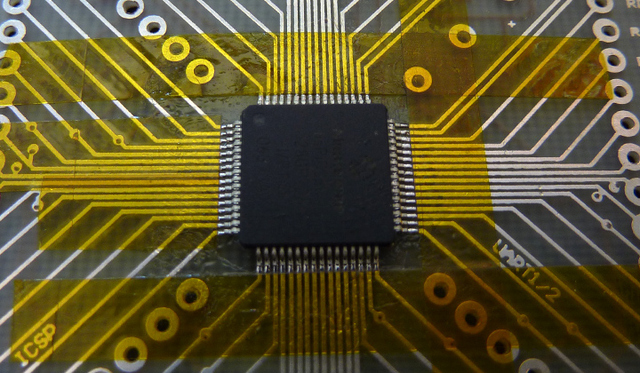
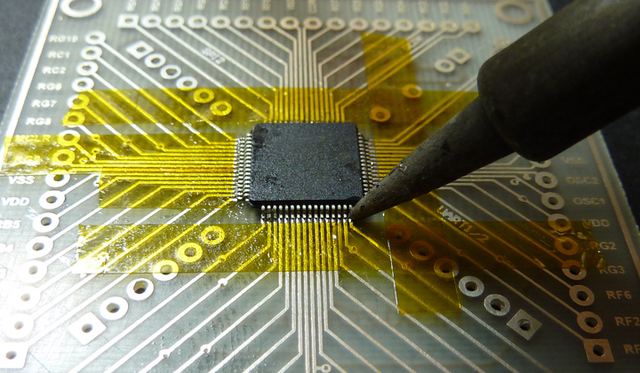
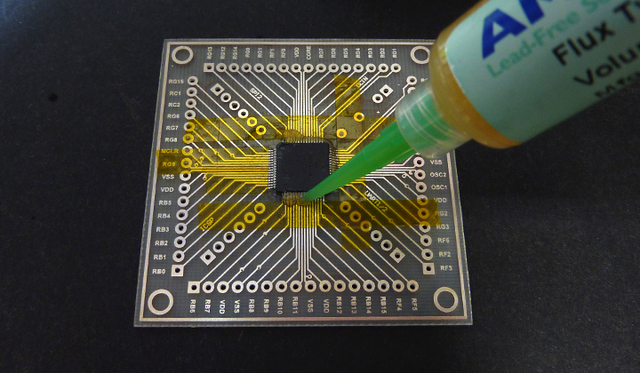
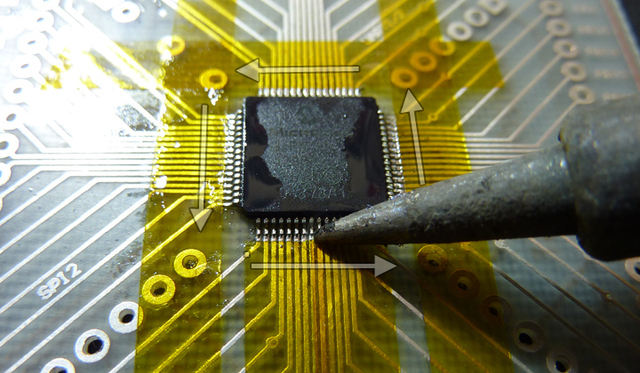
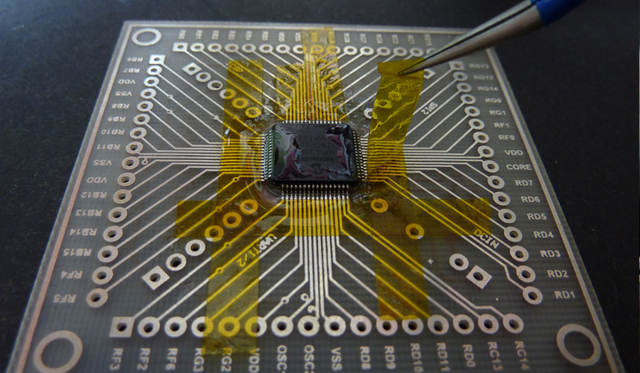
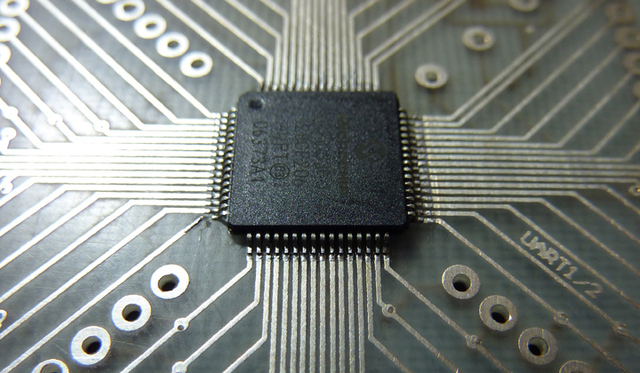
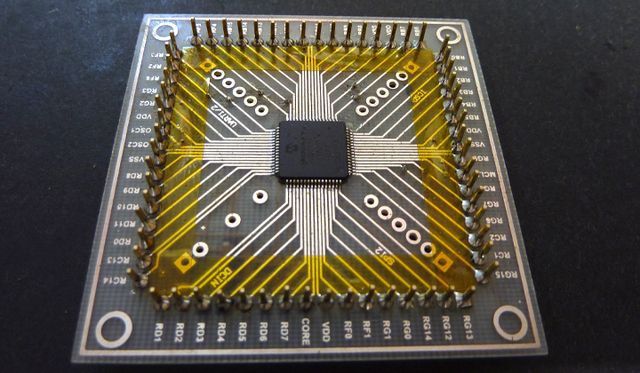
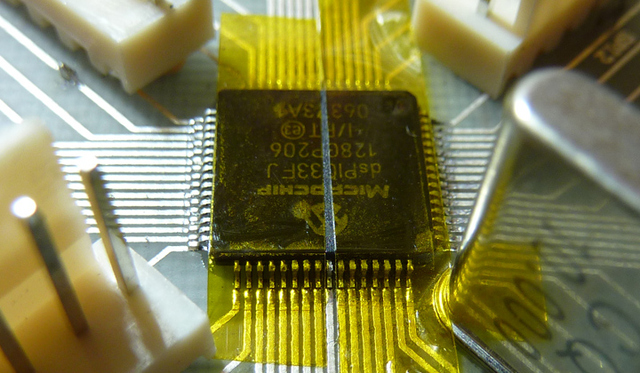
Below you'll find a few examples of Kapton used in conjunction with a soldering iron to hand solder a TQFP64 dsPIC.
The drag-soldering method shown is by no means a new technique (and we do own hot-air rework stations!), however the web is full of nasty examples where solder 'runs' along unmasked tracks, making the whole design look terrible. Kapton to the rescue!
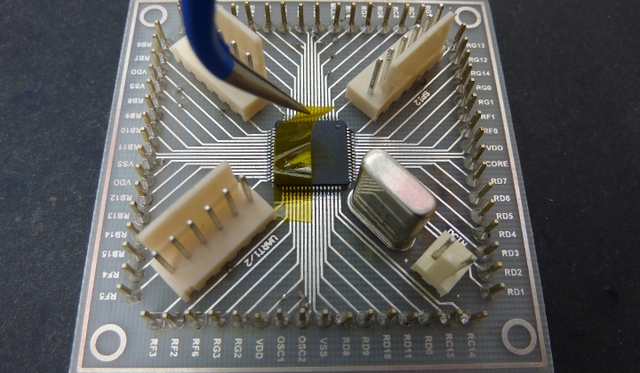
Update: A few of you have asked how we managed to "plate through" the vias underneath the dsPIC. Rest assured, the photos show the design in its un-plated state! Our technique is hidden under the chip during the alignment images.
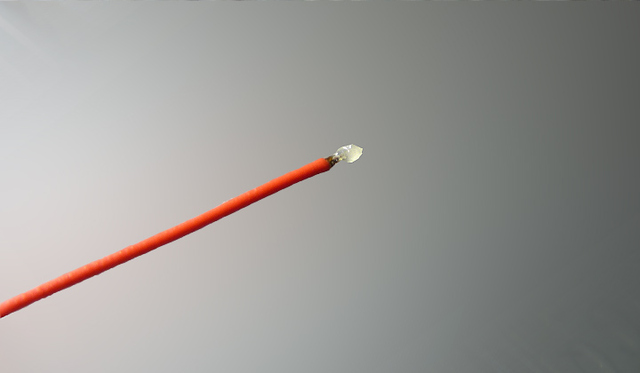
For "external" vias, we simply use solid core Kynar "modchip" wire, solder and a #87 drillbit to link both sides. #87 perfectly fits the strand, so it's held in-place snuggly while you solder it. For "internal" vias, such as those underneath the TQFP component, we use the same method with thinner stranded wire extracted from cheapie RCA leads.
No magic here folks, you'd be surprised what'll comfortably fit under a dsPIC!


... And that concludes the section dedicated to PCB masking
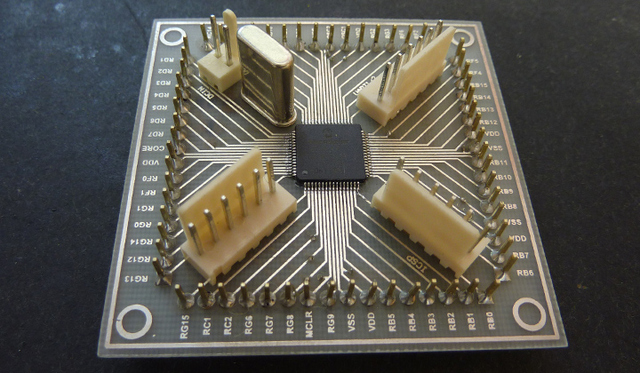
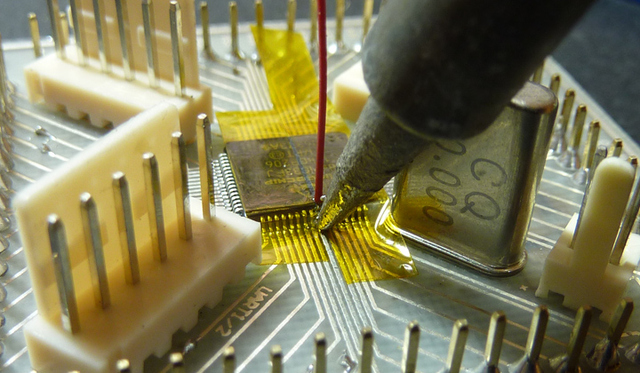
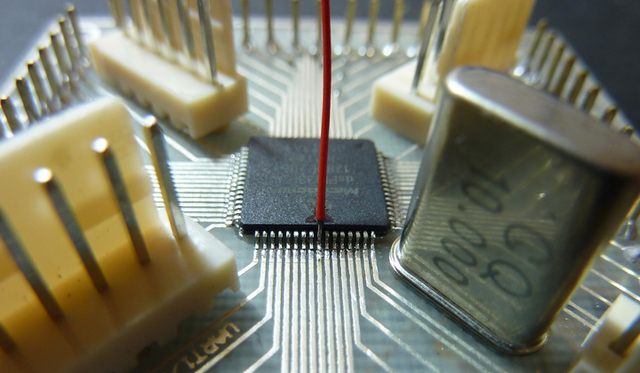
Let's assume we need to "patch" the soldered TQFP microcontroller by pulling a certain pin to ground, probably due to a faulty design, or you were drunk at the time, or even forced to clean poop and you've had a generally bad day. How does one undertake such a daunting task on such a fine-pitched component?
Ready to buy some Kapton goodness? Check out Doug Ford Analog Design's products page or that of OKAY Technologies (whom we're actually not affiliated with) - I'm fairly confident they're the only two companies with aussie stock (ie: next-day shipping) to do it at such a low cost.
...There are also more suppliers with a higher price, if you're curious: Farnell and RS Australia product pages for a price comparison
-PodeCoet
Click here to get in-touch!
 Modulated Arc Lighter